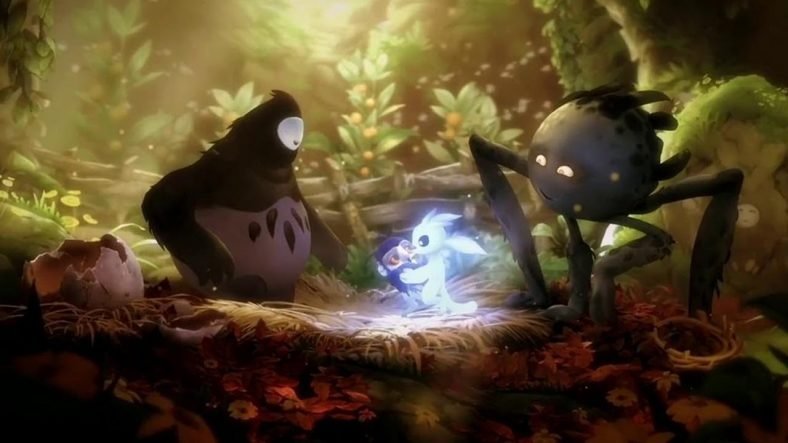
This Ori and the Will of the Wisps Puzzles Guide will show you how to solve the various puzzles that you will need to complete in the game. From the bell flower puzzle to finding out how to get past one area, this guide will list all the potential puzzles you will face.
The game has various puzzles in the game, where some are tricky to solve. Others will require you to find new areas or to complete certain tasks before you can head forward.
Ori and the Will of the Wisps Puzzles Guide
Below we have detailed all the puzzles with their solutions.
Puzzle #1 – Bell Flowers
During the story gameplay, you will be given a quest by Tokk that requires you to solve the bell flower puzzles. Just head from where you talked to Tokk, you will find three bell flowers above you hanging from the top. Your target is to ring the bells in the correct order to proceed forward.
To unlock the first path, you need to ring the three bells in the correct order.
- Left Bell
- Middle Bell
- Right Bell
- Right Bell
- Left Bell
- Middle Bell
- Left Bell
This will open the path below you. However, you can additionally open another path ahead with the same bells. This requires you to ring the bells in a different order. To unlock the second path, you need to ring the bells in the following order:
- Left Bell
- Middle Bell
- Left Bell
- Right Bell
- Right Bell
- Middle Bell
- Left Bell
This will open up the second path for you.
Puzzle #2 – Poisonous Pool in Kwolok’s Hollow
This puzzle comes when you are in Kwolok’s Hollow, and the only way to proceed further in the game is by draining the Poisonous Pool that is filled in the area. This puzzle requires you to go to certain locations where there are levers that can be turned over to drain the poison out.
For this puzzle, you will require a bow. This is because you need to shoot arrows towards the trigger points that extend bridges from under them. There will be several such trigger points that help you go towards the levers.
The first trigger point will be above the man on the bridge. Shoot the trigger and get past the bridge on the other side to pull on the lever. This will drain the poison to the first level. It will also reveal some of the areas that were previously under the pool. Head down the area and you will find another trigger point that will extend the bridge over the poison down below. Now you need to time your jump right and land on the small pole to the left and then jump ahead for the next area.
The next part of the puzzle requires you to move the large boulder towards the switch on the left. The trick here is to first bring the boulder down from the top and then use the orbs on either side to drag it to the left. Now all you are left with is to push the boulder towards the switch. In the final area, you have to shoot the trigger point so that the bridge comes out from the top. You need to wall climb this bridge and jump to the left where the final lever is.
Puzzle #3 – Shriek
You will come across a large bird called Shriek where you will have to make your way past to get this bird to the other side. The only way you can do that is by avoiding any contact with the bird as it will try to grab you and pounce on you.
When you start in the area where Shriek is, sneak past until you see the blue grappling point. Grapple and hide here until the bird looks away. Immediately move to the right and fly up to the pole. Make sure you stay out of sight by using the red cloth midway on the pole. Again, when the bird looks away, jump to the left towards the other grapple point and wait until Shriek looks down.
From this point onwards, all you have to do is run. There will not be any more hiding points so use your dash ability moving forward.
Puzzle #4 – Baur the Bear
When you reach Baur’s Reach, you will find a sleeping Baur the bear. To continue forward, you will have to wake him up so that you can enter the Reach. To do just that, you will require the ability that allows leaf you push on items.
To get the ability you need the leaf that lets you push on items, just like it can be used to glide. Once you have the ability, you will be able to redirect the air towards the bear and eventually wake him up.
Puzzle #5 – Eye Stones of the Statue
You will come across a puzzle in the game where you need to locate the eye stones that need to be put back on the statue. To get both the stones, you at least require the sticky and the gliding ability to obtain the stones.
The eye stones are both obtained from different locations in Inkwater Marsh. The first stone is where you talk to Tokk to drain the poisonous pool. To the left side from the lever, you will find another platform that will contain the first eye stone.
The second stone can also be found nearby in the Inkwater Marsh. You need to go to the right from Tokk’s location and use the blue orbs to break the wall blocking the path. Inside you will find the second eye stone.
Read more Ori and the Will of the Wisps guides:
This concludes our Ori and the Will of the Wisps Puzzles Guide. Post your comments below.


