Prince of Persia: The Lost Crown is a brand-new direction for this iconic franchise and the Metroidvania genre is often considered one on the hard spectrum of difficulty levels. While Ubisoft has tried its best to make the game as accessible as possible for players of all skill levels, the whole structure of the game might get a little overwhelming if you have never played a Metroidvania title before. Our Prince of Persia: The Lost Crown Beginner’s Guide is here to guide you with some important tips and tricks that you should know if you have just started playing the game.
Beginner’s Guide – Prince of Persia: The Lost Crown
Below, you will find important tips and tricks that will help you understand some key mechanics of gameplay, exploration, survival, and combat in Prince of Persia: The Lost Crown.
Adjust Your Accessibility and Difficulty Settings Properly
If you are a Metroidvania pro, you will have no problems just starting Prince of Persia: The Lost Crown and playing the game to the end but if you are just starting your journey into the beautiful world of Metroidvanias with Prince of Persia: The Lost Crown, you might need to check out the accessibility and difficulty settings before you play the game. Depending on your mood, you can adjust how difficult you want navigation to be by choosing between Guided and Normal modes of playing. The only difference between these two modes is that Guided marks a specific point on the map that you have to reach for our next checkpoint.
Apart from choosing the gameplay mode, you can further make the game easy or difficult for yourself on the go. Pause the game, head into System>Options and here you will find a separate tab marked Difficulty. This section allows you to play around with different difficulty sliders and you can adjust them accordingly. If you are finding the enemies too hard, you can only reduce the slider for the incoming damage but if you are fine with the enemies, but the environmental threats are killing you too much, you can adjust only that particular setting. You can play around with different settings here until you find your perfect level of difficulty.
Use Your Map
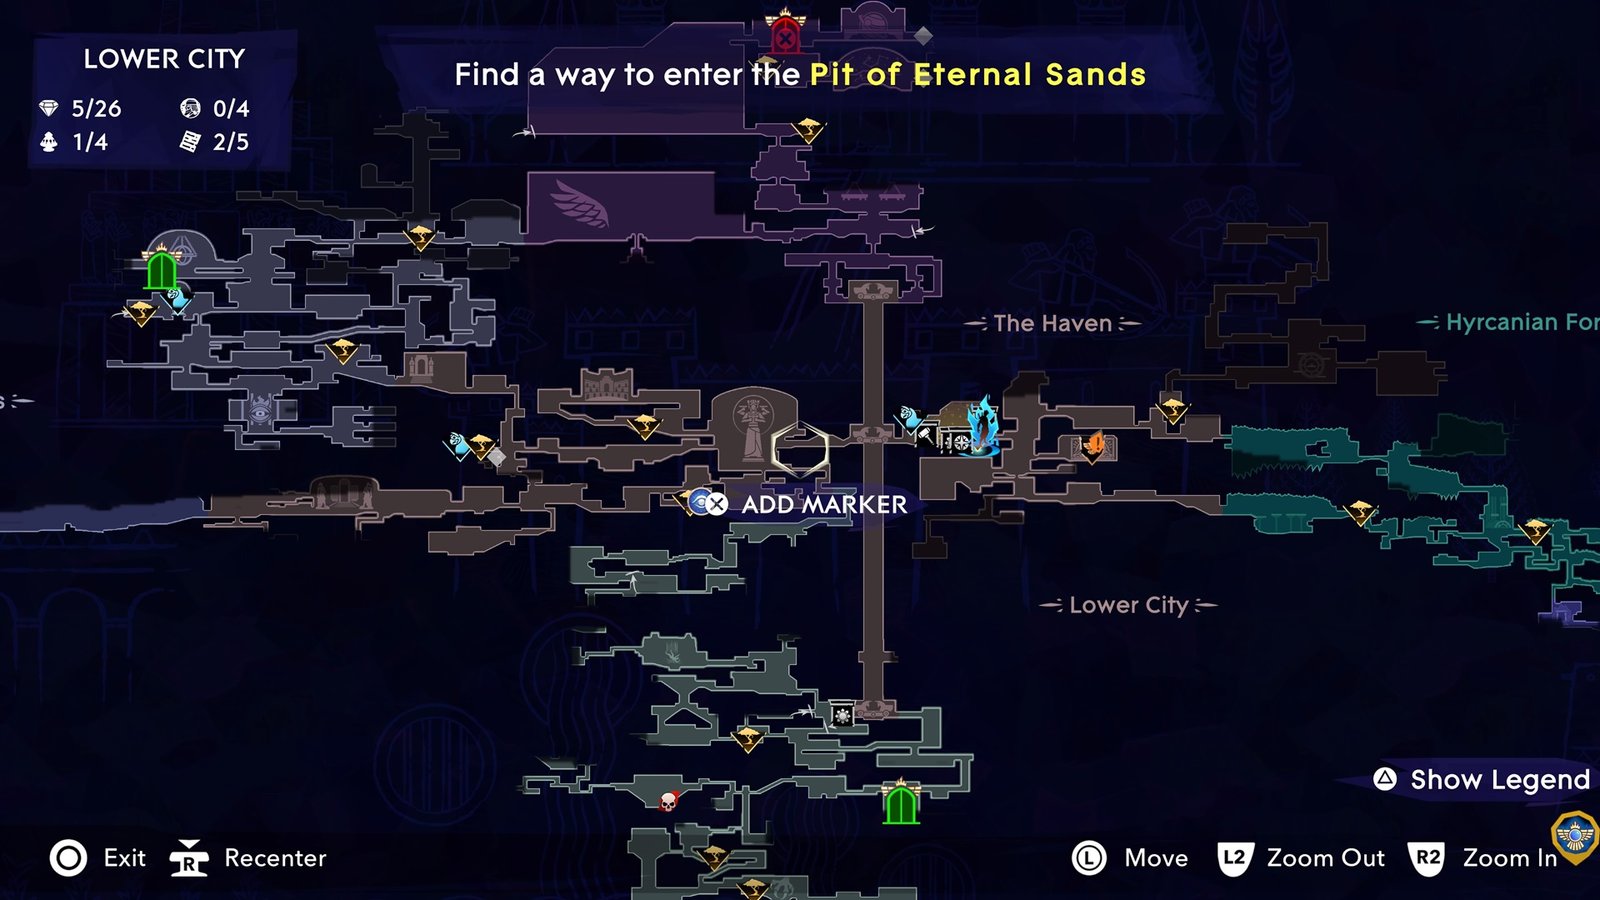
As you progress in the main story of the game, you will ultimately receive the Eye of the Wanderer. This unique orb unlocks the in-game map for you, and this will be your ultimate guide in Prince of Persia: The Lost Crown. On the PlayStation, this can be accessed by tapping the middle pad of the controller, and on your journey, this will be your guide. It will show you where you need to go next, where you can find fast travel points, merchants, and everything else. In the Guided mode, it will also show you the next story mission location as well. Always consult your map if you need to move around because it will help you massively.
Purchase Maps and Hints From Fariba
Fariba is a little girl who also serves as your guide on Mount Qaf. While you will always find her in Haven, she is also found in different spots in each location on the map. Interact with her in these locations and you can purchase an area map from her which will show you all paths in that particular location. While you still have to explore them to find new things there and have them marked on the map. It gives you a sense of direction of how big that particular location is and also shows you any paths that you might have missed on your own. Apart from maps, if you are lost in the game, head back to Haven, and speak with Fariba to purchase hints from her. She will put you on the right path. Each hint costs 30 Time Crystals but they are worth it if you are lost.
Use Memory Shards to Remember Key Locations
After you receive the Eye of the Wanderer and reach your first Wak-Wak Tree, you will be guided on how you can use another useful feature of Prince of Persia: The Lost Crown’s Metroidvania system. Memory Shards are essentially snapshots of an area that you can take and mark on the map and view these locations at a later time from anywhere in the world. In Metroidvania titles, this is a common practice because you do not have all of the abilities at the start of the game and as you defeat bosses, you get more abilities that allow you to reach previously unreachable locations. You can use Memory Shards to take snapshots of locked paths, unreachable chests, or in general just to mark locations to remind you of key events in the game. Use them often because they will help you navigate Mount Qaf much more easily and also help you remember to go back and get that chest that was previously unreachable.
Complete Side Quests for Unique Amulets
As it turns out, there are plenty of NPCs throughout Mount Qaf that have missions for you as well. As you explore each location thoroughly, you will come across plenty of NPCs who will give you side quests. These will range from finding a particular item, collecting resources, killing enemies, or finding a friend. While the game gives you the ability to deny these quests, if you accept them, you can receive some exclusive and unique amulets which are only found as rewards for these particular side quests. These side quests will demand some time but once complete, the new amulets are worth using.
Always Keep a Lookout for Collectibles
Mount Qaf is filled with hidden locations and in these locations, you will find different collectibles. Some are hidden behind puzzles while some are hidden behind difficult platforming sections. There are tons of collectibles that you can find in the game such as mystery chests, sand vials, lore items, and new outfits. Always look for hard-to-reach areas as they are usually hiding something of value and if you lack the skills, use Memory Shards to mark these locations and come back when you have the required skills. Some of the walls in the game can also be destroyed so look out for signs that might present that you can break a wall.
Upgrade Your Health Potions
After certain progression in the game, you will unlock the ability to purchase new upgrades and items at the game’s merchants. The very first one that you will reach is the Mage sitting in the Haven. She will charge Time Crystals, but you can easily farm them in the nearby areas by killing enemies. Once you have enough, go back to the mage and purchase either Additional Health Potions or increase the potion’s efficiency to receive more health with each one. If you take a lot of hits, this should be at the top of your list.
Find the Perfect Balance of Amulets
This might be a little advanced, but you will need to find a balance between offensive and defensive amulets that you will find on your journey. There are a lot of amulets to find and equip in Prince of Persia: The Last Crown but you can only equip a small number of amulets even if you have maxed out your slots. Some of the amulets are offensive while some of them are defensive.
You need to identify your strong suit to equip proper amulets to complement your strengths and lower your weaknesses at the same time. In addition, you must always switch amulets to cater to the current location for example the Horned Viper works great in The Depths where you can be poisoned but you must remove it in other areas where it is of no use. Always switch up your amulets to gain an edge over situations.
Complete Challenges to Master the Basic Combat Moves
While you are gradually introduced to all combat moves in the game, you can mix and match them in order to land deadly combos on your enemies. When you reach Haven, go up the platforming section to find Artaban who offers Free Training as well as some Challenges for you to complete. While the naming might be a little off, the Challenges serve as an advanced tutorial, and they will introduce you to all of the advanced moves and combos of the game. It takes a little time but going through all of these challenges will seriously improve your combat skills.
That is all for this guide. If need to check out more guides, we have them linked below for you:
- Fast Travel Guide
- How to Save Progress in Prince of Persia: The Lost Crown
- Combat Guide
- Boss Battles Guide
This concludes our Prince of Persia: The Lost Crown Beginner’s Guide. If you want to add anything to this guide, feel free to use the comments section below.


